独り言
MySQL の設定とphpMyAdminのインストール
最近のアプリケーションでは、データベースが必須です。Linuxでは、MySQLやPgSQLなど様々なデータベースが使用されていますが、今回はMariaDBをインストールします。MariaDBは、MySQLの姉妹分のデータベースで機能面では同等、それ以上の機能を有しています。取り扱いもMySQLとほとんど変わりなく、コーディング上の気になる違いとしてはサブクエリを含む場合のソートの解釈の違い位です。
-
必要なパッケージの追加インストールと設定
これまでの作業で、mariadb と mariadb-libs がインストールされていると思います。開発環境でデータベースを使用するには、サーバーのインストールが必要となりますので、インストールしていきます。
devel と server をインストールします。
[root@localhost ~]# yum -y install mariadb-devel mariadb-server

サーバーが起動します。すでにスタートアップには登録されている筈ですので、そちらの設定は不要です。
[root@localhost ~]# systemctl start mariadb

root パスワードの設定と、不要なユーザー、データベースを削除します。
[root@localhost ~]# mysql_secure_installation

NOTE: RUNNING ALL PARTS OF THIS SCRIPT IS RECOMMENDED FOR ALL MariaDB
      SERVERS IN PRODUCTION USE!  PLEASE READ EACH STEP CAREFULLY!

In order to log into MariaDB to secure it, we'll need the current
password for the root user.  If you've just installed MariaDB, and
you haven't set the root password yet, the password will be blank,
so you should just press enter here.

Enter current password for root (enter for none):  <= そのままEnter
OK, successfully used password, moving on...

Setting the root password ensures that nobody can log into the MariaDB
root user without the proper authorisation.

Set root password? [Y/n] y <= y を入力
New password:  <= root のパスワードを入力します。
Re-enter new password:  <= 確認の為、同じパスワードを入力します。
Password updated successfully!
Reloading privilege tables..
 ... Success!


By default, a MariaDB installation has an anonymous user, allowing anyone
to log into MariaDB without having to have a user account created for
them.  This is intended only for testing, and to make the installation
go a bit smoother.  You should remove them before moving into a
production environment.

Remove anonymous users? [Y/n] y <= y を入力
 ... Success!

Normally, root should only be allowed to connect from 'localhost'.  This
ensures that someone cannot guess at the root password from the network.

Disallow root login remotely? [Y/n] y <= y を入力
 ... Success!

By default, MariaDB comes with a database named 'test' that anyone can
access.  This is also intended only for testing, and should be removed
before moving into a production environment.

Remove test database and access to it? [Y/n] y <= y を入力
 - Dropping test database...
 ... Success!
 - Removing privileges on test database...
 ... Success!

Reloading the privilege tables will ensure that all changes made so far
will take effect immediately.

Reload privilege tables now? [Y/n] y <= y を入力
 ... Success!

Cleaning up...

All done!  If you've completed all of the above steps, your MariaDB
installation should now be secure.

Thanks for using MariaDB!
アプリケーションで取り扱うデータの大きさ等によっては、設定を変更する必要があるかもしれませんが、取り敢えずデフォルトの値で構いません。
タイムアウト等のエラーが出た場合は、適切な値を都度見つける為にエラー時に設定をしてください。現在の設定は「show global variables」で確認します。[root@localhost ~]# mysql -u root -p Enter password: <= パスワードを入力します。 Welcome to the MariaDB monitor. Commands end with ; or \g. Your MariaDB connection id is 11 Server version: 5.5.56-MariaDB MariaDB Server Copyright (c) 2000, 2017, Oracle, MariaDB Corporation Ab and others. Type 'help;' or '\h' for help. Type '\c' to clear the current input statement. MariaDB [(none)]> show global variables like '%wait%'; <= ここではweit に関する情報を取得しています。 +---------------------------------------------------+----------+ | Variable_name | Value | +---------------------------------------------------+----------+ | innodb_lock_wait_timeout | 50 | | innodb_spin_wait_delay | 6 | | lock_wait_timeout | 31536000 | | performance_schema_events_waits_history_long_size | 10000 | | performance_schema_events_waits_history_size | 10 | | wait_timeout | 28800 | +---------------------------------------------------+----------+ 6 rows in set (0.00 sec)
-
phpMyAdmin のインストール
このままコマンドを使用してデータベースの設定を行う事も出来ますが、面倒臭いのでphpMyAdminをインストールします。
ウェブ上でグラフィカルに設定やデータの修正が行えますので、インストールして損はないと思います。- ウェブサーバー(Apache)にバーチャルホストを設定するの要領で、「phpmyadmin.localhost」を設定します。ここでは、phpMyAdmin用のフォルダーを「phpMyAdmin」として話を進めます。
- phpMyAdminのサイトからダウンロードをします。ポップアップが表示されますので、「Check that the file’s SHA256 hash matches」の次に表示されているHASH値を記録してください。同時に寄付の案内がありますが、ご自分の判断でお決めください。
- ダウンロードしたファイルのHASHを確認します。ここでは、パワーシェルで確認します。パワーシェルと起動後、ダウンロードしたフォルダへ移動します。
PS xxxxx> cd phpMyAdminをダウンロードしたフォルダー
PS XXXXX> get-filehash phpMyAdmin-4.7.7-all-languages.zip

Algorithm       Hash                                                                   Path
---------       ----                                                                   ----
SHA256          C8F0804F1C3CE305902784931DE338E5BFFC38C5BE2E21A8536B8F89AC9A0769       XXXXX\phpMy...
黄色部分の文字が、先ほど記録したHASH値と同じか確認します。
- HASH値が同じであれば、改変されていないという事ですので、zipファイルを解凍します。解凍したフォルダーの中身をphpMyAdminフォルダーにコピー(移動)します。
- config.sample.inc.php といるファイルを config.inc.php とファイル名を変更してください。後々心配な方は、コピーを取ってファイル名を変更してください。
-
phpMyAdmin の設定
まず、先ほどのconfig.inc.php の修正から行います。ファイルを開き、35行目付近から69行目付近にある「phpMyAdmin configuration storage settings.」のコメントアウト「//」をすべて外します。
config.inc.phpの内容 ~省略~ /** * This is needed for cookie based authentication to encrypt password in * cookie. Needs to be 32 chars long. */ 32桁以上のランダムキーを設定します。こちらで生成すると楽です。 $cfg['blowfish_secret'] = 'yn4xcjYA4i9ipMxzPW5Si3TXpEkeX8wn'; /* YOU MUST FILL IN THIS FOR COOKIE AUTH! */ ** * Servers configuration */ $i = 0; /** * First server */ $i++; /* Authentication type */
$cfg['Servers'][$i]['auth_type'] = 'cookie';<= configに変更します。。 $cfg['Servers'][$i]['auth_type'] = 'config'; $cfg['Servers'][$i]['user'] = 'root'; <= 追加します。 $cfg['Servers'][$i]['password'] = 'youre password'; <= 追加します。 /* Server parameters */ $cfg['Servers'][$i]['host'] = 'localhost'; $cfg['Servers'][$i]['compress'] = false; $cfg['Servers'][$i]['AllowNoPassword'] = false; /** * phpMyAdmin configuration storage settings. */ /* User used to manipulate with storage */ $cfg['Servers'][$i]['controlhost'] = 'localhost'; // $cfg['Servers'][$i]['controlport'] = ''; <= この行はコメントアウトを残しておきます。 $cfg['Servers'][$i]['controluser'] = 'pma'; $cfg['Servers'][$i]['controlpass'] = 'yuore pma password'; <= pmaユーザー用のパスワードを設定します。 /* Storage database and tables */ $cfg['Servers'][$i]['pmadb'] = 'phpmyadmin'; $cfg['Servers'][$i]['bookmarktable'] = 'pma__bookmark'; $cfg['Servers'][$i]['relation'] = 'pma__relation'; $cfg['Servers'][$i]['table_info'] = 'pma__table_info'; $cfg['Servers'][$i]['table_coords'] = 'pma__table_coords'; $cfg['Servers'][$i]['pdf_pages'] = 'pma__pdf_pages'; $cfg['Servers'][$i]['column_info'] = 'pma__column_info'; $cfg['Servers'][$i]['history'] = 'pma__history'; $cfg['Servers'][$i]['table_uiprefs'] = 'pma__table_uiprefs'; $cfg['Servers'][$i]['tracking'] = 'pma__tracking'; $cfg['Servers'][$i]['userconfig'] = 'pma__userconfig'; $cfg['Servers'][$i]['recent'] = 'pma__recent'; $cfg['Servers'][$i]['favorite'] = 'pma__favorite'; $cfg['Servers'][$i]['users'] = 'pma__users'; $cfg['Servers'][$i]['usergroups'] = 'pma__usergroups'; $cfg['Servers'][$i]['navigationhiding'] = 'pma__navigationhiding'; $cfg['Servers'][$i]['savedsearches'] = 'pma__savedsearches'; $cfg['Servers'][$i]['central_columns'] = 'pma__central_columns'; $cfg['Servers'][$i]['designer_settings'] = 'pma__designer_settings'; $cfg['Servers'][$i]['export_templates'] = 'pma__export_templates'; ~省略~ブラウザで「http://phpmyadmin.localhost(設定したURL)」にアクセスします。
-
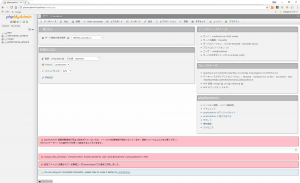
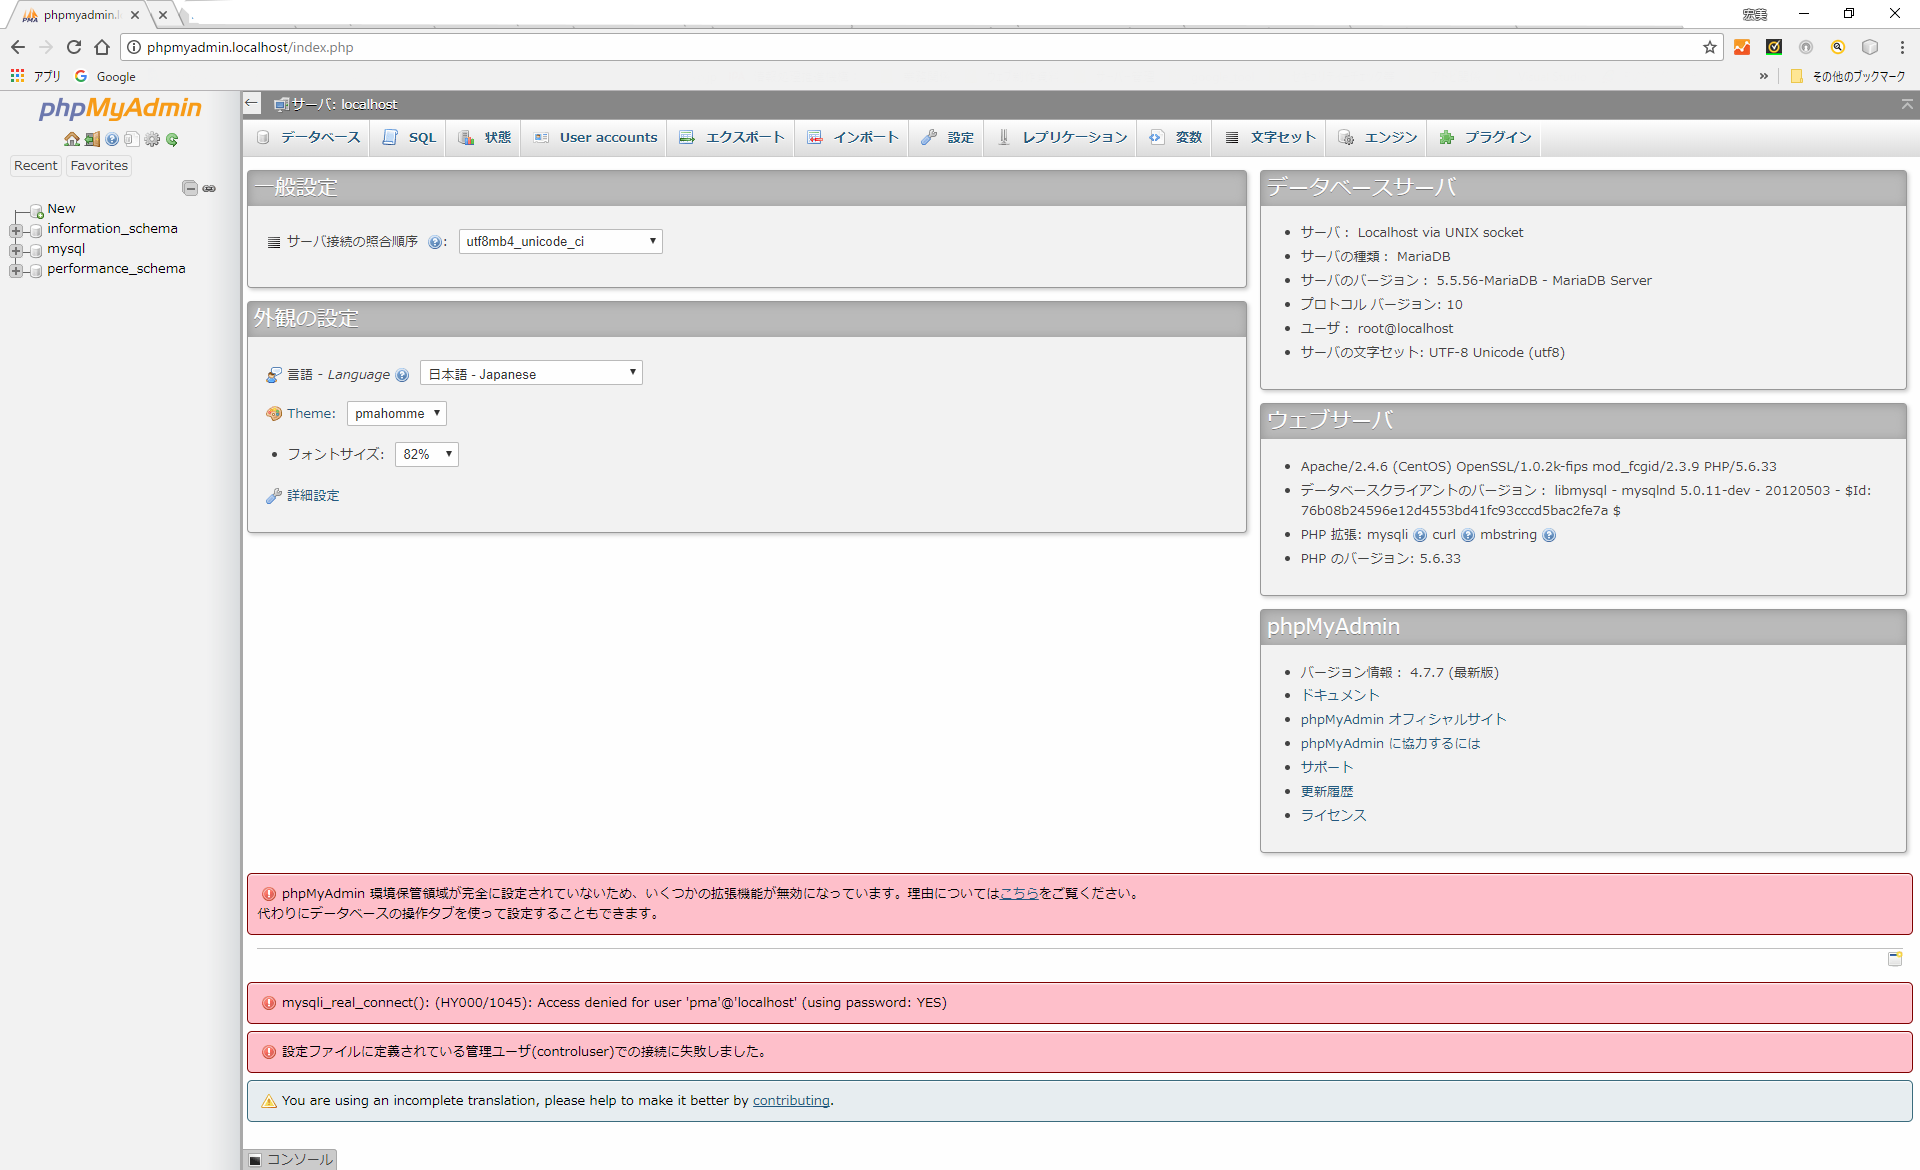
先ほど、config.ing.php を設定しましたので、root のパスワードが正しく設定されていればログインをパスして「サーバー:localhost」の画面が開きます。色々とエラーが出ていますが、気にしないでください。
-
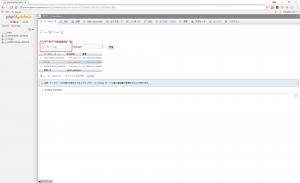
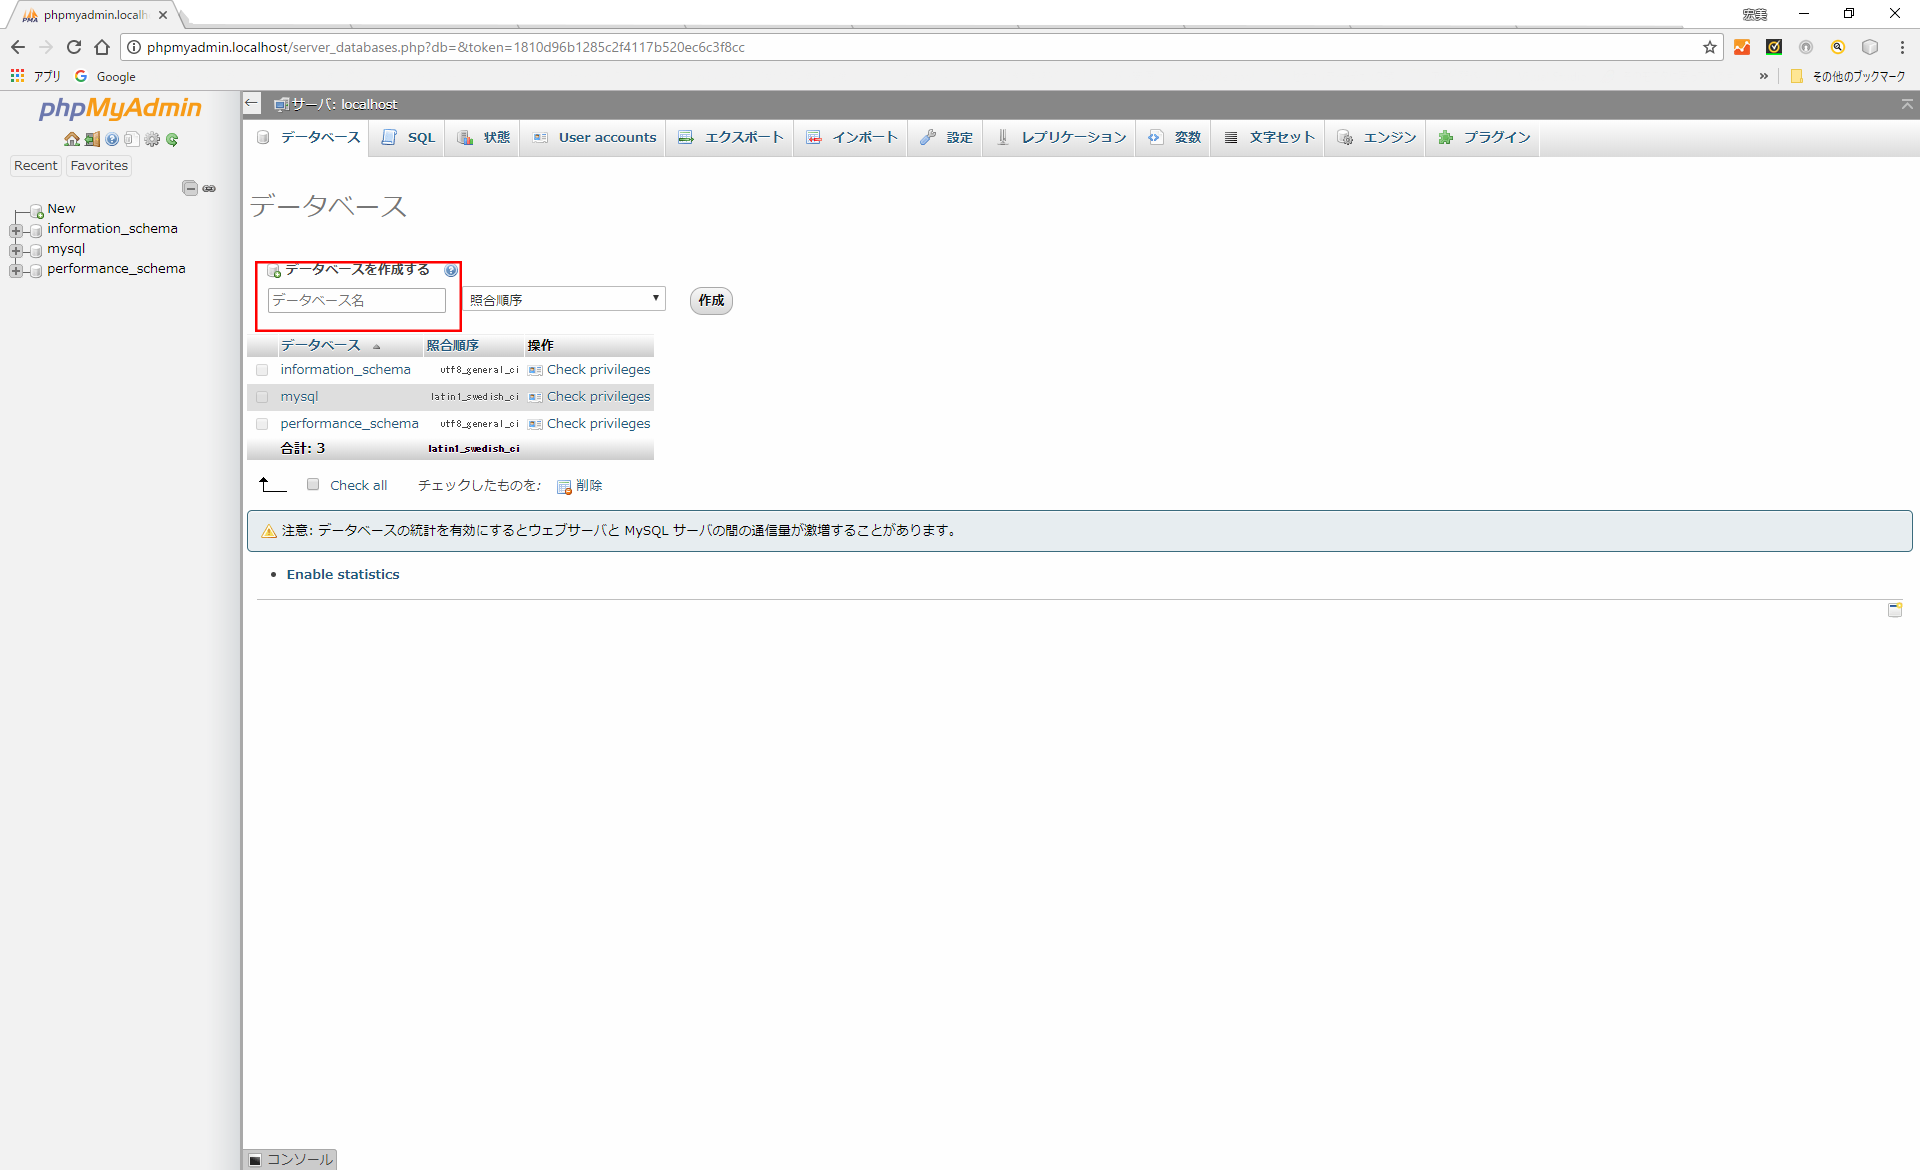
phpMyAdmin用の管理データベースを作成します。「サーバー:localhost」=> 「データベース」を選択します。データベース名に「phpmyadmin」と入力して作成ボタンをクリックします。
-
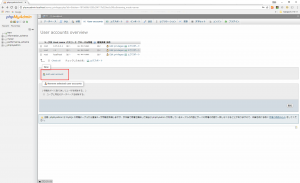
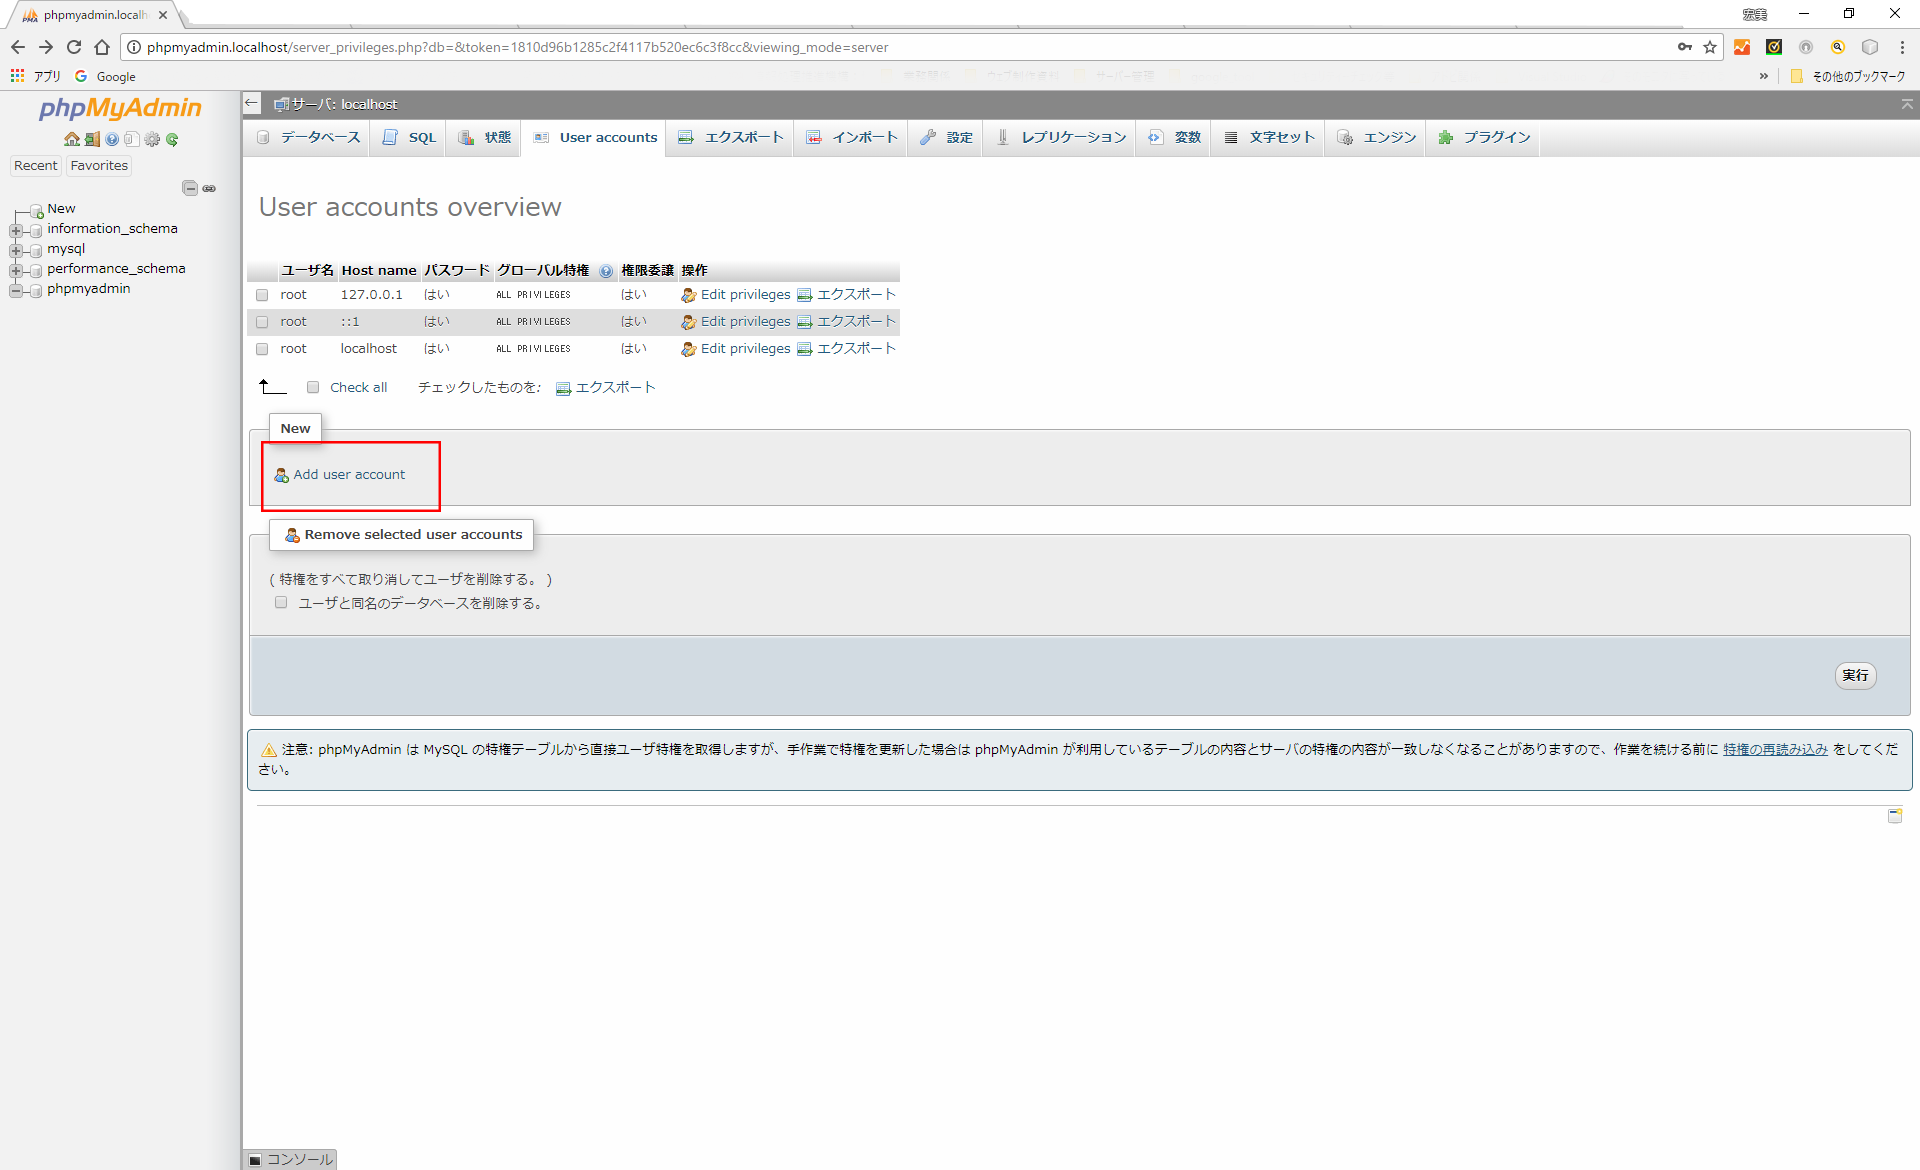
次に、ユーザーを作成します。「User accounts」をクリックしてユーザーアカウントページを開き、Add user accountをクリックします。
-
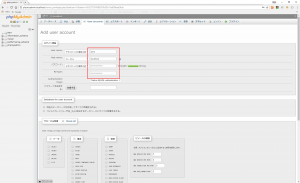
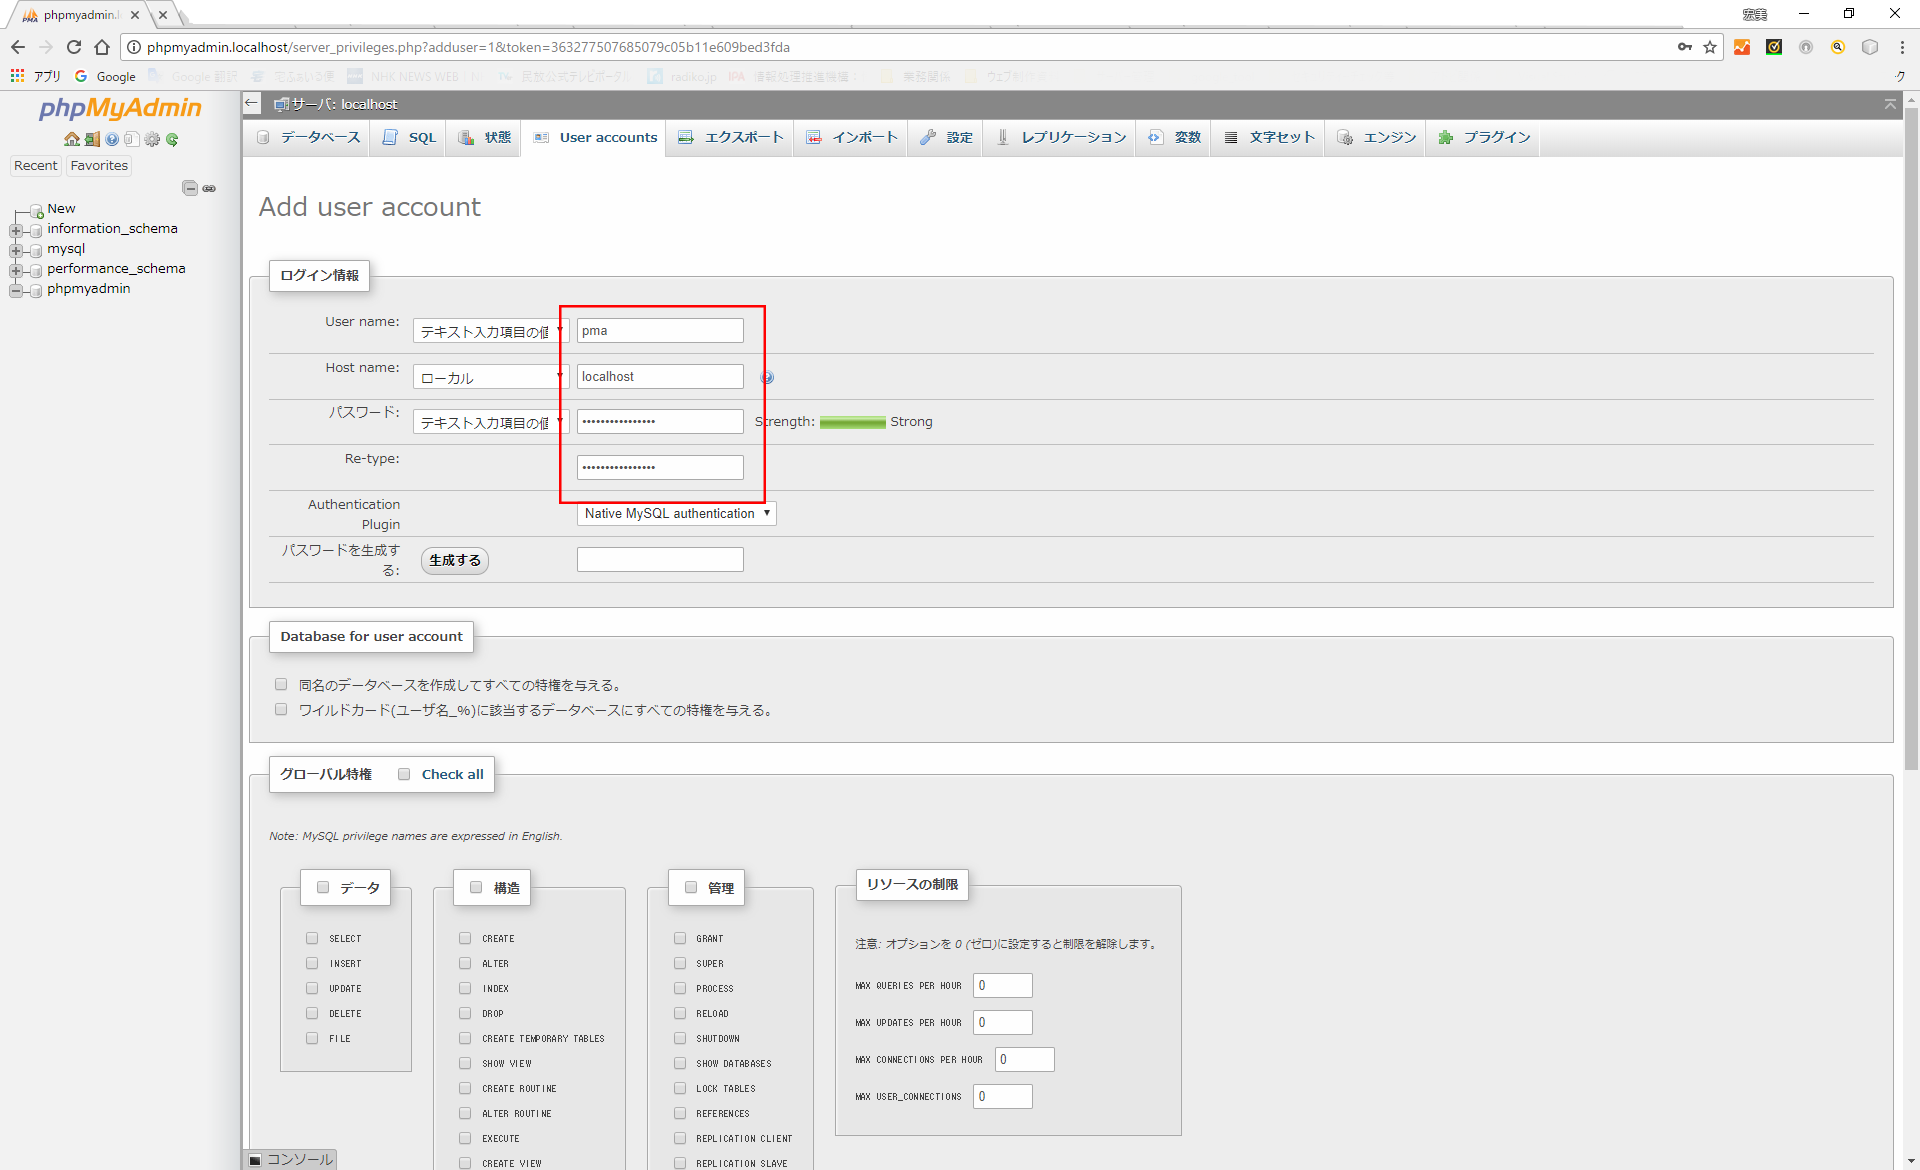
User name:pma Host name:localhost パスワードに先ほどconfig.inc.phpで設定したpma のパスワードを入力します。ページ下部の実行ボタンをクリックします。
-
「global」タグが選択されていますので、「データベース」タブをクリックします。データベース固有の特権から「phpmyadmin」を選択し、実行ボタンをクリックします。
-

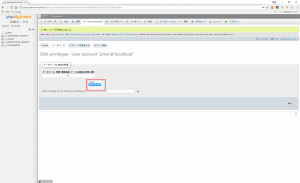
特権選択ページが開きますので、Check all にチェックを付けて実行ボタンをクリックします。
-
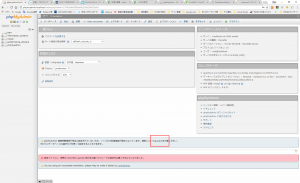
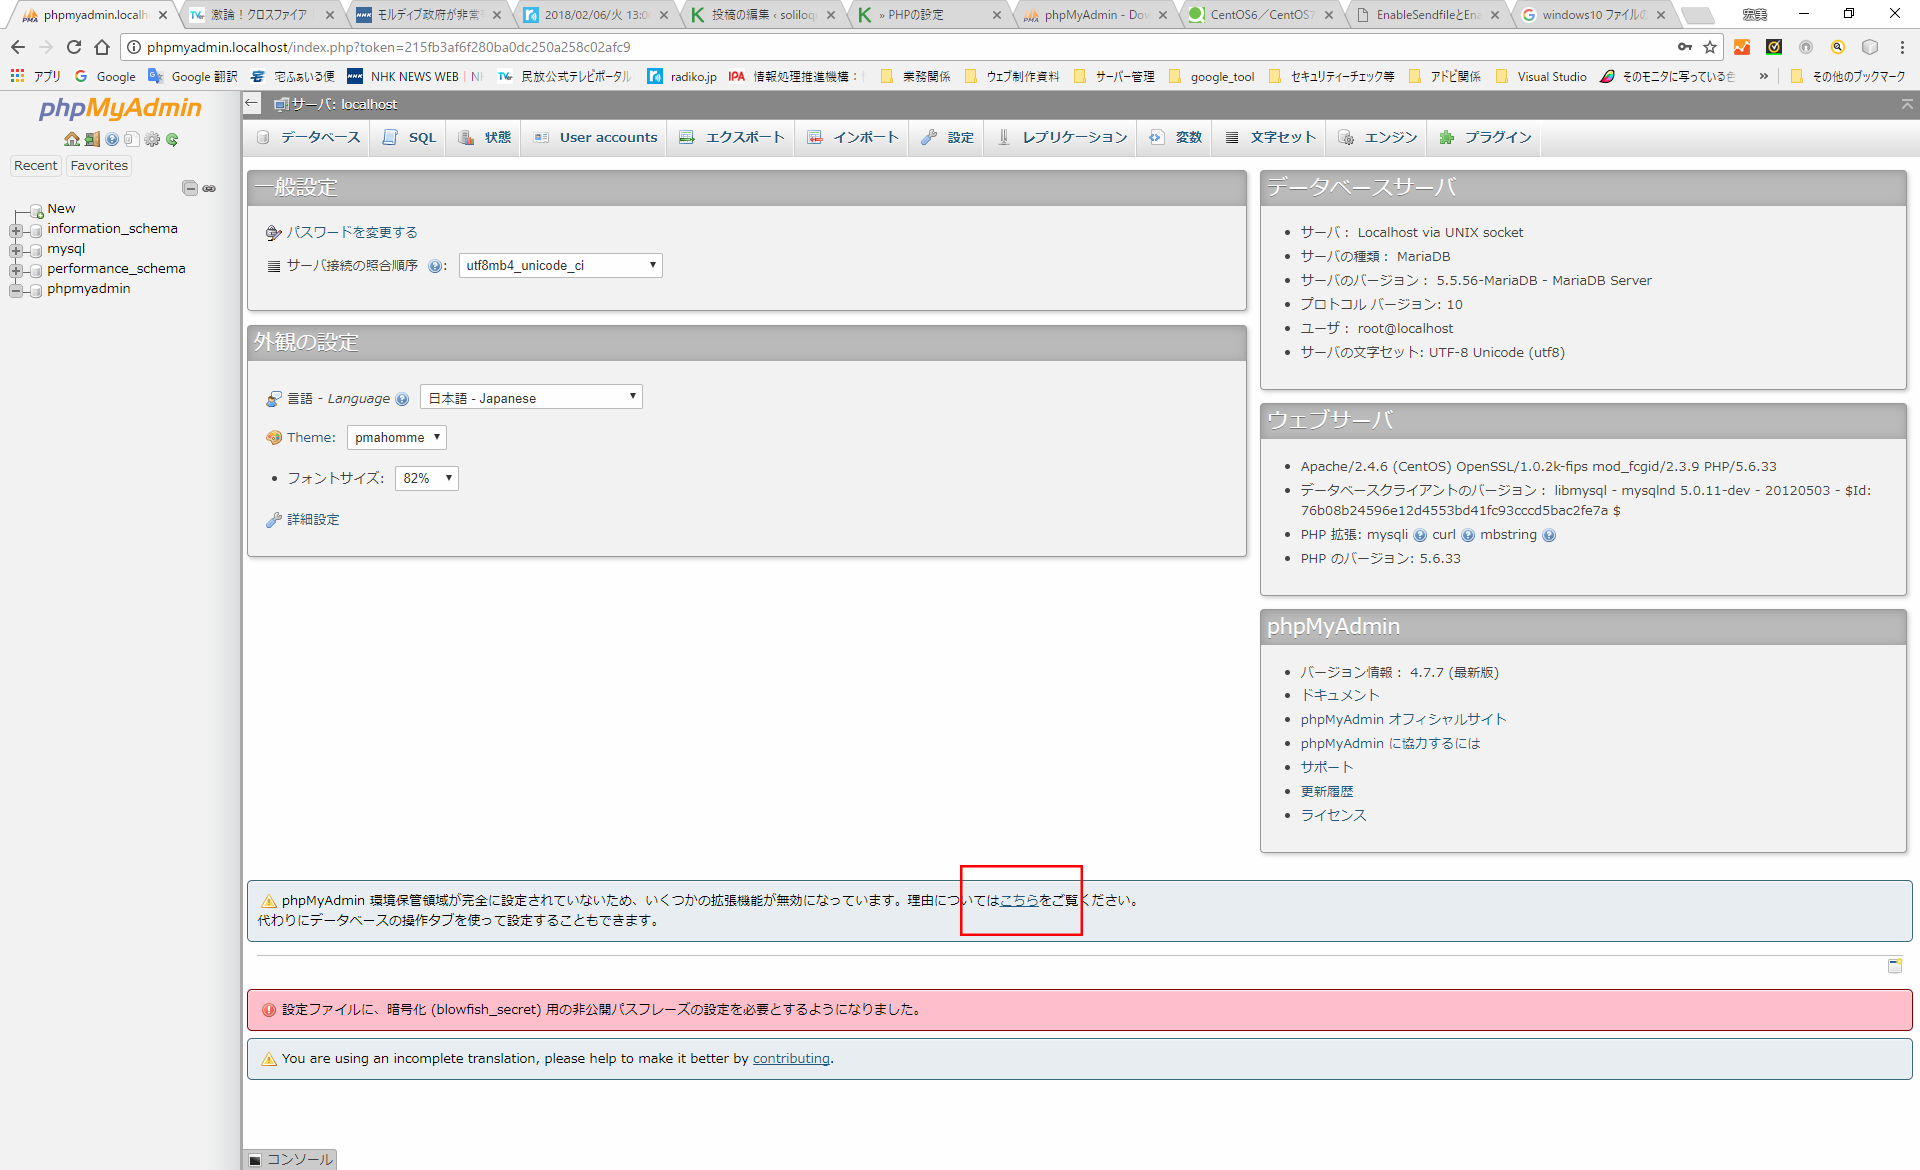
左サイドメニューのホームボタンをクリックして、「サーバー:localhost」に移動します。下部に表示されている phpMyAdmin 環境保管領域が完全に設定されていないため、~の「こちら」のリンクをクリックします。
-
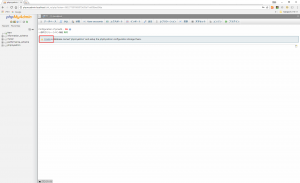
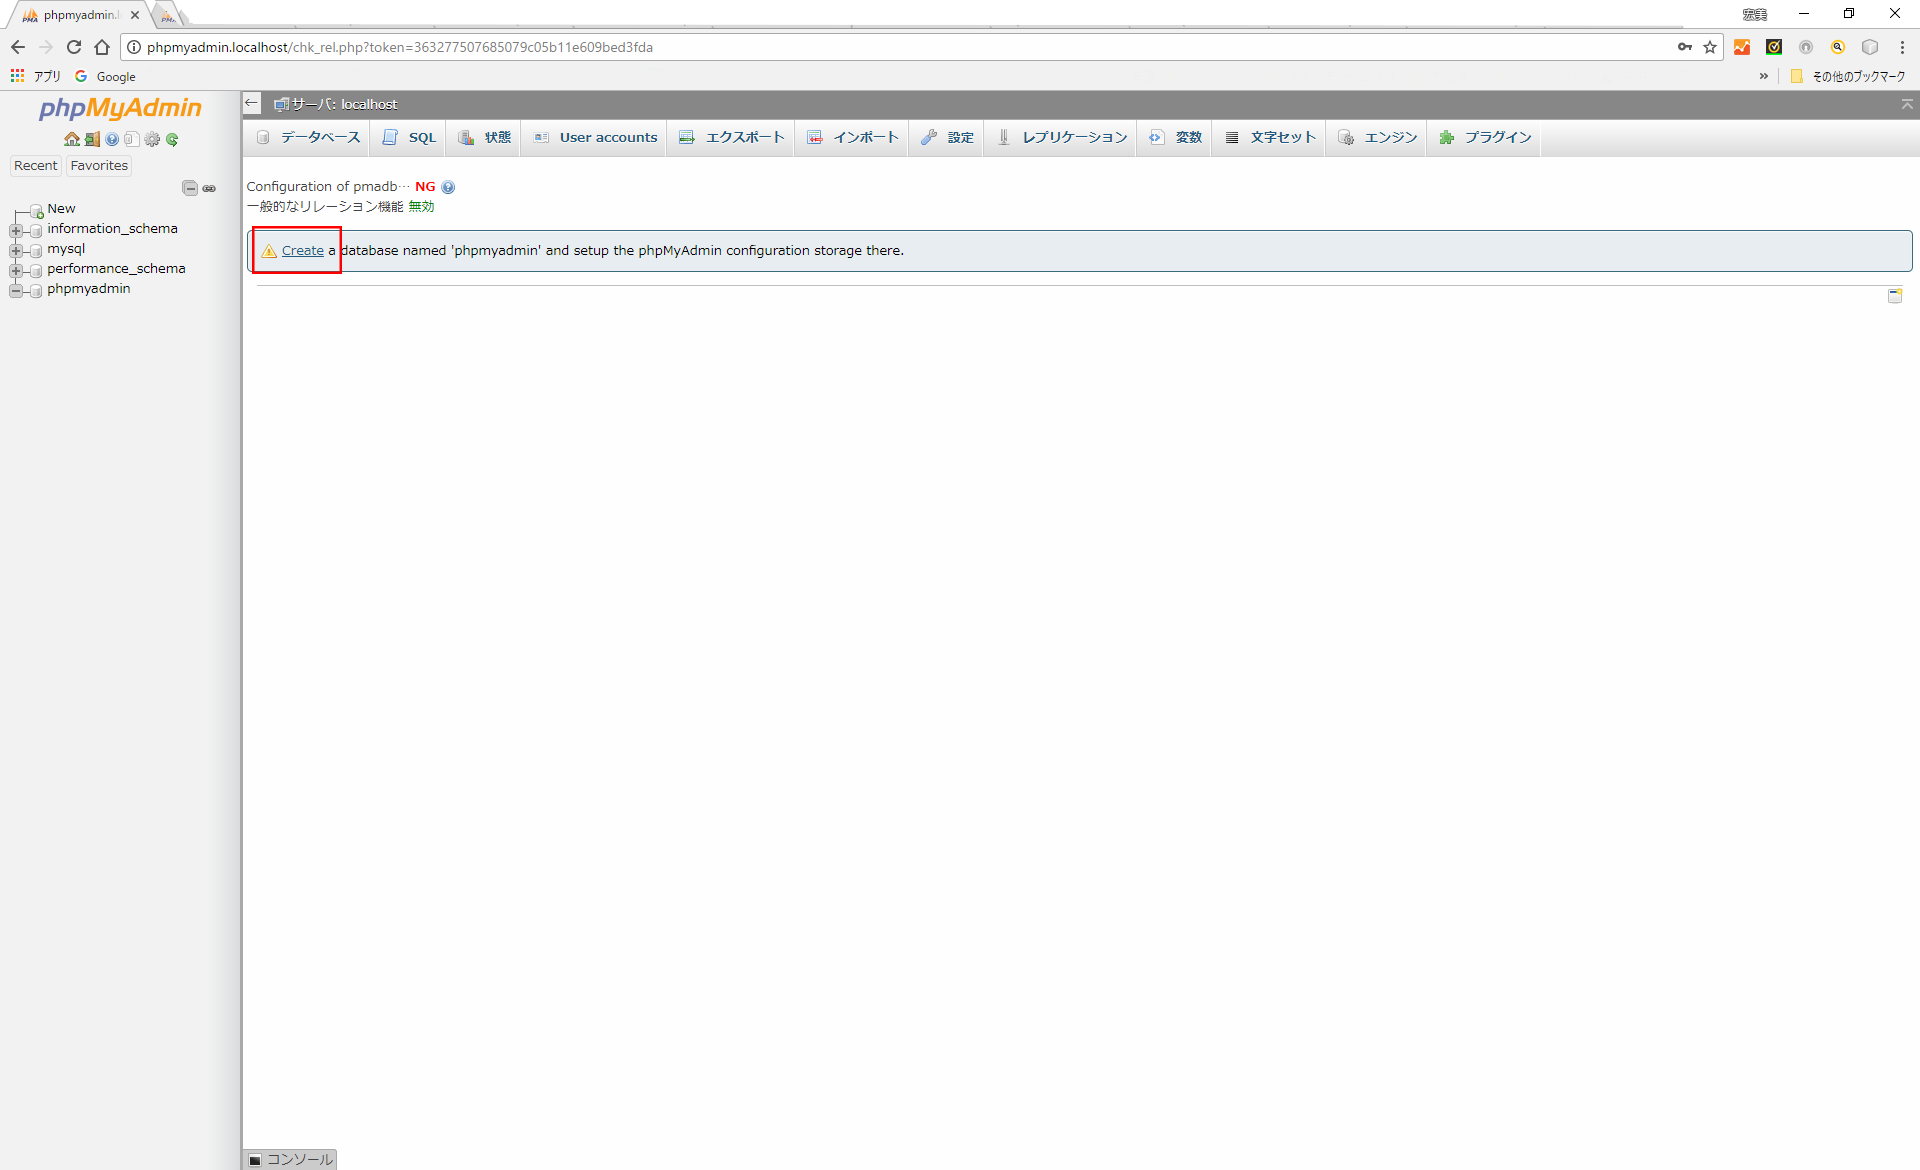
「Create」のリンクをクリックすると、データベースの構築がはじまります。
-
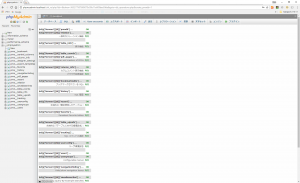
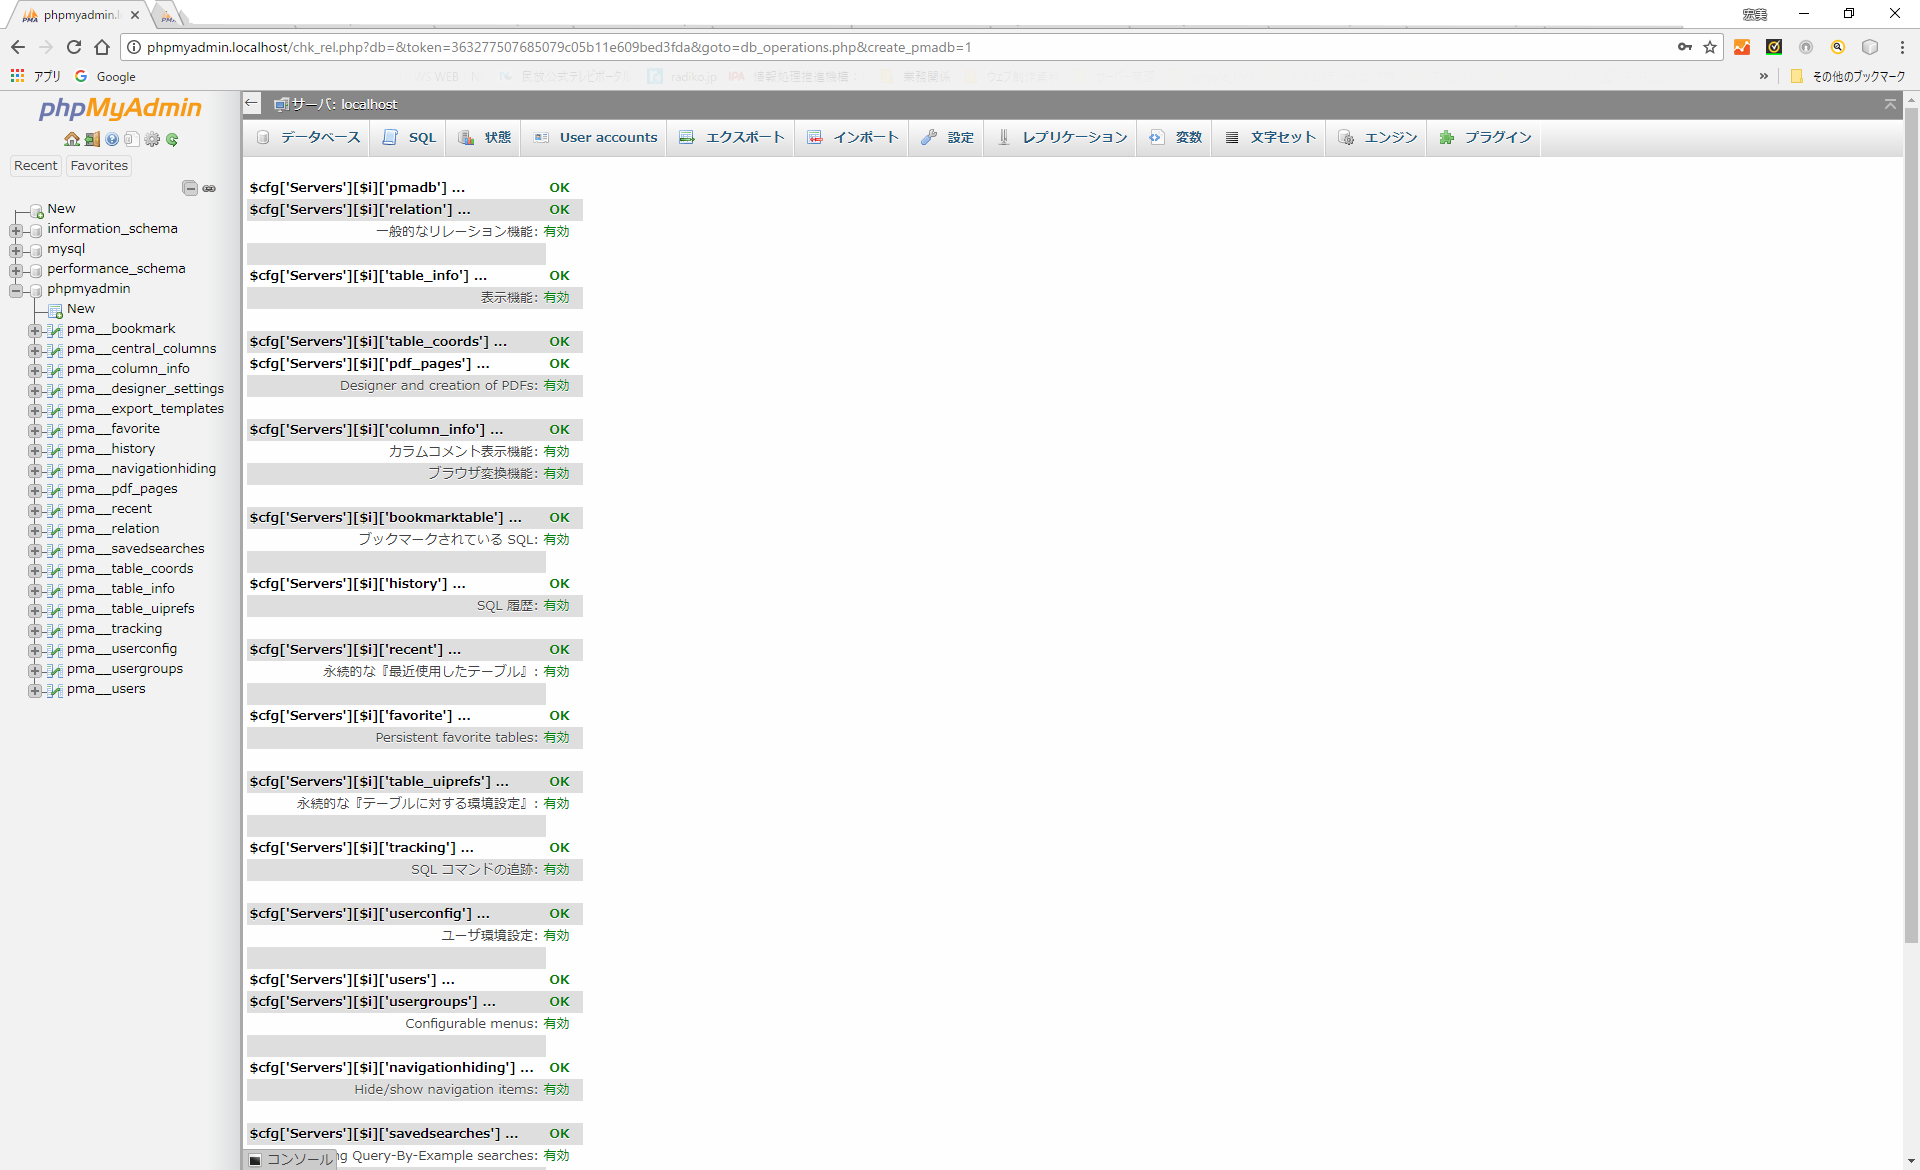
全てがOKになっていれば、環境保管領域の設定は完了です。
-
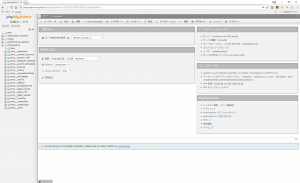
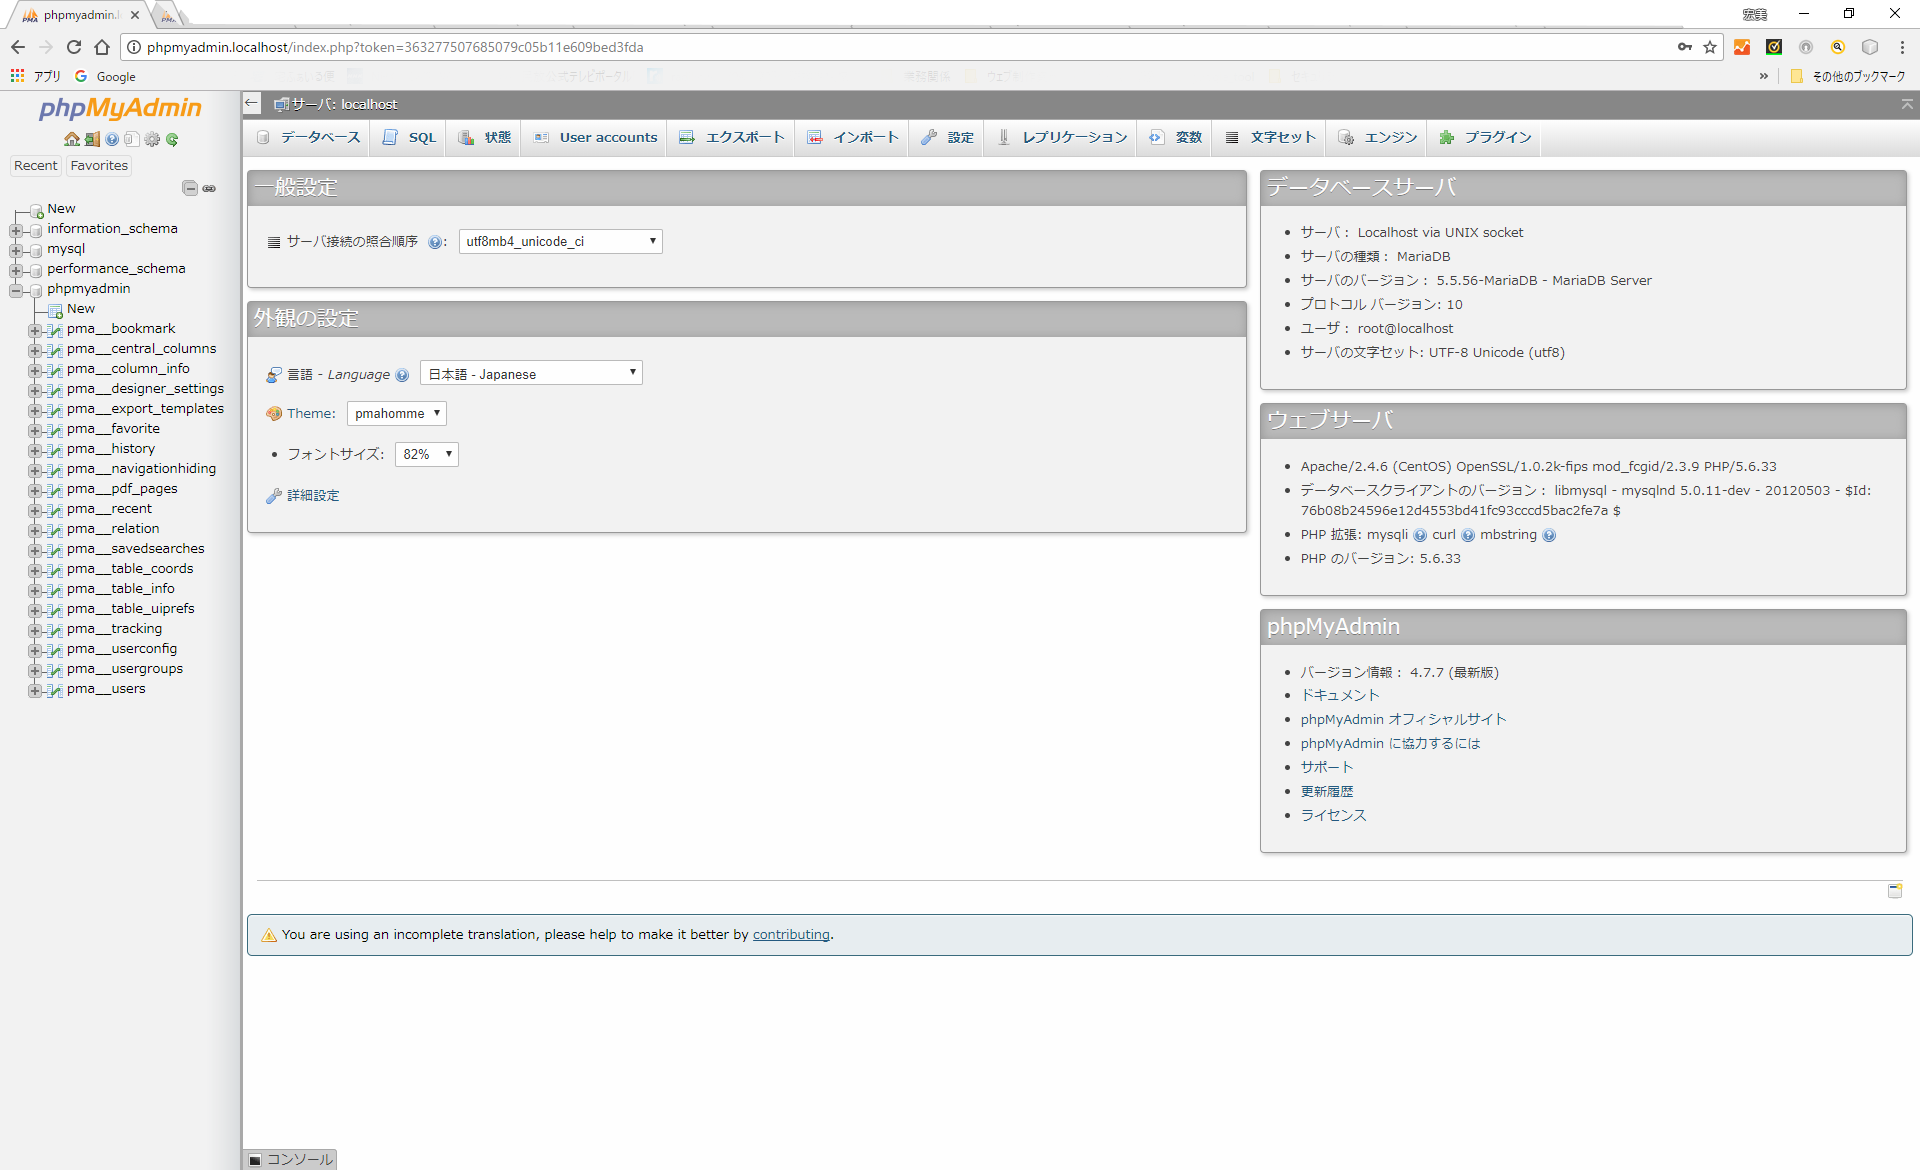
左サイドメニューのホームボタンをクリックして、「サーバー:localhost」に移動します。全てのエラーが消えていると思います。「You are using an incomplete translation, please help to make it better by contributing.」翻訳に協力してねというメッセージが出ますが、これは問題ありませんのでそのままにしておきます。
これでMariaDBの設定とphpMyAdminのインストール・設定が完了しました。あくまでも開発環境での使用を前提としていますので、外部に公開する場合はセキュリティーの設定をお願いします。
-